Monday, May 13, 2013

Our Guest Interview for May - Anne Gaal

An interview with Anne Gaal, artist extraordinaire.   Anne is so incredibly creative working in  multi-media arts.  I am always amazed at the diverse projects Anne posts on her blog, Gaal Creative.  I'd like you to get to know Anne too.

1. Tell us a little about yourself

My name is Anne Gaal (rhymes with “smile”). I am an exploratory mixed-media artist, photographer, and mentor. I love to create; discover new people, places, and things; and to share what I learn with others. I live near Raleigh, North Carolina, with my hubby and our two new kittens, Tempo and Alli.

I love Anne's video of Temp and Alli stalking a bird outside from the inside of a room, but it looks like they are quiet now.

2. How long have you been a card maker/scrapper & when did you start?

I have always been an artist. I started drawing as soon as I could hold a crayon and I've never stopped. My Aunt Diane is only 6 years older than I am, so she is like the big sister I never had. When she was in high school, she created this cool scrapbook album and I wanted to create one, too. I never did have the time then, but that idea always stuck with me. Then later, when scrapbooking became more popular, I knew I had to try it!

Unfortunately, though, I tend to be a slow scrapbooker. I usually start with the photos and the colors in them, and work from there. Trying for find pretty papers that I liked, that went with my photos was a lot of work. It literally takes me a week or longer to make a single layout. That is one reason why I have begun doing my scrapbooking digitally - so that I can more easily match colors and move things and change their size to my heart's content. I tinker with those pages endlessly before I consider them final!

But I found that I still wanted to play with the physical paper I had and to try new techniques. Especially ones with ink, stamps, acrylics, stencils, and mediums. So much fun! This led me to card-making as an outlet for my exploratory creations. I can play with paper and techniques and colors and tools all I want - and yet still have something finished in a single afternoon that I can share with someone else.
Just one example of Anne's card making.

3. Do you follow sketches or dive right in?

I would have to say that generally, I dive right in. I don't plan much in advance. I like "happy accidents" and I like seeing how things develop. That's the exploratory artist in me. I usually start by finding one thing that I love - a stamp, a patterned paper, something - and then use that as a jumping off point and see where it takes me. Other times, I will be inspired by someone else's creation, and use that as a jumping off point. But very rarely do I use a sketch.

4. How many projects do you make a week?

I'm not very consistent. Instead, I tend to work in spurts. Some weeks I don't make a single thing, and other weeks I will make a bunch at once. I try to make my pieces individual, yet I also try to take advantage of using a tool or medium multiple times as long as I have it out. For instance, if I am making a tag using Distress Inks or Dylusions Ink Sprays, I will often make the one I have envisioned and then use the leftover inks to create serendipity backgrounds. If I am stamping something to color, I will usually stamp two or three, and color them differently. Then I have the pieces for my current project AND some "hidden potential" for future projects, too.
Anne's extraordinary paper-bead necklace.  Paper.... and I sometimes have trouble stringing ordinary glass beads.  This necklace is incredible!  I think you will concur.

5. What is your favorite tool (what can't you create without) & why?

My absolute favorite tool as an artist is color. I couldn't function without it and I very rarely do a piece that is only black-and-white (although I do occasionally). Color is usually the first thing I think of when I'm working on a project. Color can be used to create mood or feeling. To create harmony or contrast. I love color and working with color!
I love the color and depth to this Lotus Blossom mixed-media piece.   

6. What at the moment is your most favorite thing to do on your project? 

I don't have any one favorite thing except color and to play and experiment. I rarely do the same thing twice.

7. How would you describe your style?

My style is cheerful, upbeat, and exploratory. By exploratory, I mean that I like to try different techniques, tools, mediums, styles, and genres, without committing to any. I like to experiment and play and just see what happens. What you can mix together and what doesn't work well. Because my focus is on playing and not on pushing the boundaries of what art is, I consider that exploratory versus experimental. I usually tell people that you never know what I'm going to make next! So if you see a piece of mine that you like at my Etsy store at http://gaalcreative.etsy.com, snap it up!


The photos above show both acrylic and watercolor work.  

8. What about your style would you change (or not) & why?

I would not change my style at all. It is truly "me." When I make art, I make it from my heart, for the fun of making it. For the pleasure it brings me. I love how I can get so lost in making art that the tape recorder in my head just fades into the background and all those lists of things to do go away and I get totally in the zone and in the flow of creating. That is such a peaceful, blissful, joyful place and I try to bring that out in my artwork.


9. Have you been published or on a Design team - when & where?

I am currently on the Artistcellar.com Design Team. You can see the team's work on the Artistcellar blog here: http://artistcellar.com/wp/


I hope you are inspired, because I am!  Visit Artistcellar to see how to make this fearless fan.

10. Describe (pictures are even better) your crafting area

My crafty space is the corner of a spare bedroom. Because it is such a small space, and because I am an exploratory artist who likes to play with so many different things, storage is a huge issue for me. I am constantly having to go through and purge supplies that I am no longer using. That is also why I have the shelving and drawer systems that you can see in this photo of my space on one of its cleaner days. It isn't always so tidy!


I see the artist in Anne has bold beautiful color on her walls.  

11. Do you have a blog? If not where can we see more of your fabulous creations?

Yes, I have a blog, called Gaal Creative. Please visit my blog or my Etsy store.
 I believe this beautiful memorial is still available on Anne's Etsy store.

Arlene and the DCD Design Team

Sunday, May 12, 2013

The Perfect Gift for Mothers Day

Well okay maybe not the "perfect one" but definitely a great one.  Being a paper crafter my gifts tend to come from my desk most of the time, especially for family. And Arlenes challenge this month " Anything but a Card" really encouraged me to to go all out and make something fun!

So I made a quick stop to Michaels, and bought some Grapevine Wreathes, pulled out my Silhouette, inks, punches, paper, and glossy accents and set to work

Yes I made a Wreathe out of Paper, I've been wanting to try this for Ages! Thanks to Arlene for Pushing me!
How easy is that! of course if you try this, I would recommend a glue gun for faster drying and adhering.

Arlene made a Mother's Day card for her daughter-in-law.  She printed the digital stamp right on the patterned paper and colored flowers, leaves and butterfly with Copic markers.

Happy Mothers Day!
 To all you crafty Moms and Readers wishing you all the Best.


Hannah

Saturday, May 11, 2013

I've joined the Altoids Gang

I've joined the Altoids Gang and altered this Altoids tin.  Here we go on the steps along the way.

Grab Altoid tin from garage.  It had matches in it... ?  No idea where it came from.

 Buy some Emery Boards - why?

Cover with papers of your choice, back, front and sides.  I left the metal below the lid.
I filed down the edges on the paper.  Just take sand paper or an emery board and push the board down the paper from where you glued the paper to turn the edges down against the tin container. Decorate with a Bugaboo digi stamp.
Here is Stella in all her charming beauty, a Bugaboo image.  Check her out. 
I figured a hospital patient needed Altoids.

She needs her meds as you can see.

Added a butterfly to bother Stella

Close-up of ol' Stella.

You might try to alter something and add a little fun with a Bugaboo digi stamp.  Hope you liked this tin.

Arlene and the DCD team


Friday, May 10, 2013

Table topper Tutorial


Hi Lovelies,


As promised here is a table topper tutorial.

You will need to have the following:


Cardstock in assorted colours, dies, Nestibilities Scalloped circles (two sizes), D'vine Swirl embossing Folder, glue, glitter, Versamark ink or Clear Glossy Accents.  Plus your die cutting/embossing machine of choice.


Firstly start out by die cutting & assembling the duck (or your die of choice).


Next is to cut a thin strip of card stock & score it at each end about a quarter of an inch (I find scraps c/s good for this) adhere one end to the duck & make sure is sits up well.


 Then it's time to cut & emboss your circles I used a smaller die for the top (light blue) & a slightly larger die for the bottom (dark blue).  I only emboss the the smaller circle.


Once you have done this I like to place the duck where I think it would look good before adhering it to the embossed circle.


Now for the messy bit!  It's glitter time woo hoo.  Adhere the glitter to the top of the raised swirls.  This step isn't necessary but who doesn't like a bit of bling.

Once the glitter is dry adhere the smaller circle(light blue) to the larger (dark blue) circle & you are all done.  The best bit is if you need to lay your topper flat it will lay down & will also sit back up again.


I made about fifteen of these over two days (only because I have snakes kids to wrangle).  The hardest part was waiting of the glitter to dry lol.  These ducks where made for a baby shower, but I could see a princess theme in pinks/purples or a boys theme in these as well.  They'd look amazing don't you think.

Thanks to Paula for a grand tutorial!  

 Doesn't that duckie look cute?  Visit Bugaboo Digi Stamps to pick your duck, character, or friends Stella and Gus out and have them arrive on your electronic doorstep right away!  

Thursday, May 9, 2013

Some More Anything But a Card Ideas


Some more anything but a card ideas.

Hi Lovelies,

Here are some more ideas for anything but a card. A tutorial will follow tomorrow.


Cupcake toppers using Hang in there Duck by Bugaboo


Table topper using dies/embossing folders for Cuttlebug.

Thank you to the wonderful Paula for this wonderful idea.  Don't those cupcakes look delicious?  YUM!   Tutorial to follow tomorrow.

Remember to pop on over to Bugaboo Digi Stamps to pick up a cute duck or two.  
Enter the Die Cut Divas' challenge here!
Thanks to Bugaboo Digital Stamps for being our sponsor!

Wednesday, May 8, 2013

Here's how ...

I store my dies after having seen a little tutorial online about 6 years ago.  And to let you know, I didn't follow it exactly.  Anyway, my base card is about 6 1/2 inches by 9 inches long. (or exactly 16 1/2 cm by 23 cm), which is from a cardboard backing for work requests.  They'd be thrown away and I save them from the trash can.  Good save!
Cover some plain blah cardboard with a thin decorative paper (I choose papers that I know I'll never use and no one else ever will either).  This paper is nice, but I have 4 more 12" X 12" pages of it.


Grab a magnetic sheet.  I've already been using this sheet .

Grab your paper cutter and cut magnetic sheet.  

After the strips are cut, pull back the paper backing and place on decorative paper, holding the strip down for a couple seconds.

This is the finished product.  I've seen some YouTube examples and these people are much more perfect in their application of the magnetic strips.  I wasn't sure what I wanted to put together when I first started, so I thought this placement would do for most of my dies and they do.


My recent purchases and I wanted to know who made what, so I found the in-between spaces worked great for writing the brand and name of the die on a shipping label.

And looks like I have some MORE dies.

I use my Spellbinders Nestabilities Circles & Scalloped Circles all the time and my page is in good condition; the swirls on the paper are deceptive.   The green page was just made a couple weeks ago, however the card holding the circles is about 4 or 5 years old.  I never put these in a binder.  I kept saying I'll do it someday, but I just put them in a shallow plastic drawer and pull them out when I need them.  As I sort through them, I hold out some that I think might work on my project, depending on the size of the die. I'm sure there are videos on YouTube and you can check to see if you'd like to bind your set.  

You may be thinking about putting your dies into CD cases.  One reason I'm not changing to CD holders is that I don't want the bulk of the case.  I may convert these to a binder, but right now they work fine for me.  I hope I've given you something to think about.

Arlene and the DCD team


Monday, May 6, 2013

Flower Tutorial


I found this wonderful Tutorial for some pretty flowers that Heather made.....


"I thought it would be easier to explain in pictures how I made it, so put together a little photo tutorial on the process. The flowers are really easy to make and can be made with just small pieces of fabric - I hope you give them a try!"

Cut 5 circles of the same size out of fabric. I used my Cuttlebug which made it really quick.


Fold each fabric circle in half.


Fold in half again.


Using a running stitch sew along the curved side, a little bit down from the raw edge.


Add the next petal to the length of thread using a running stitch.


Continue adding petals with the running stitch until all five petals have been added. As you can see you don't have to be fussy about doing even stitches!


Holding the two ends of the thread, pull tightly to gather the petals together and knot 3\4 times.


Snip the ends of the thread and add a button, large gem or yo yo to the centre to cover up the raw edges.


Thanks Heather for allowing us to share this tutorial

Dawn and the DCD Design Team

Sunday, May 5, 2013

And the Winner is>>>>>>>>


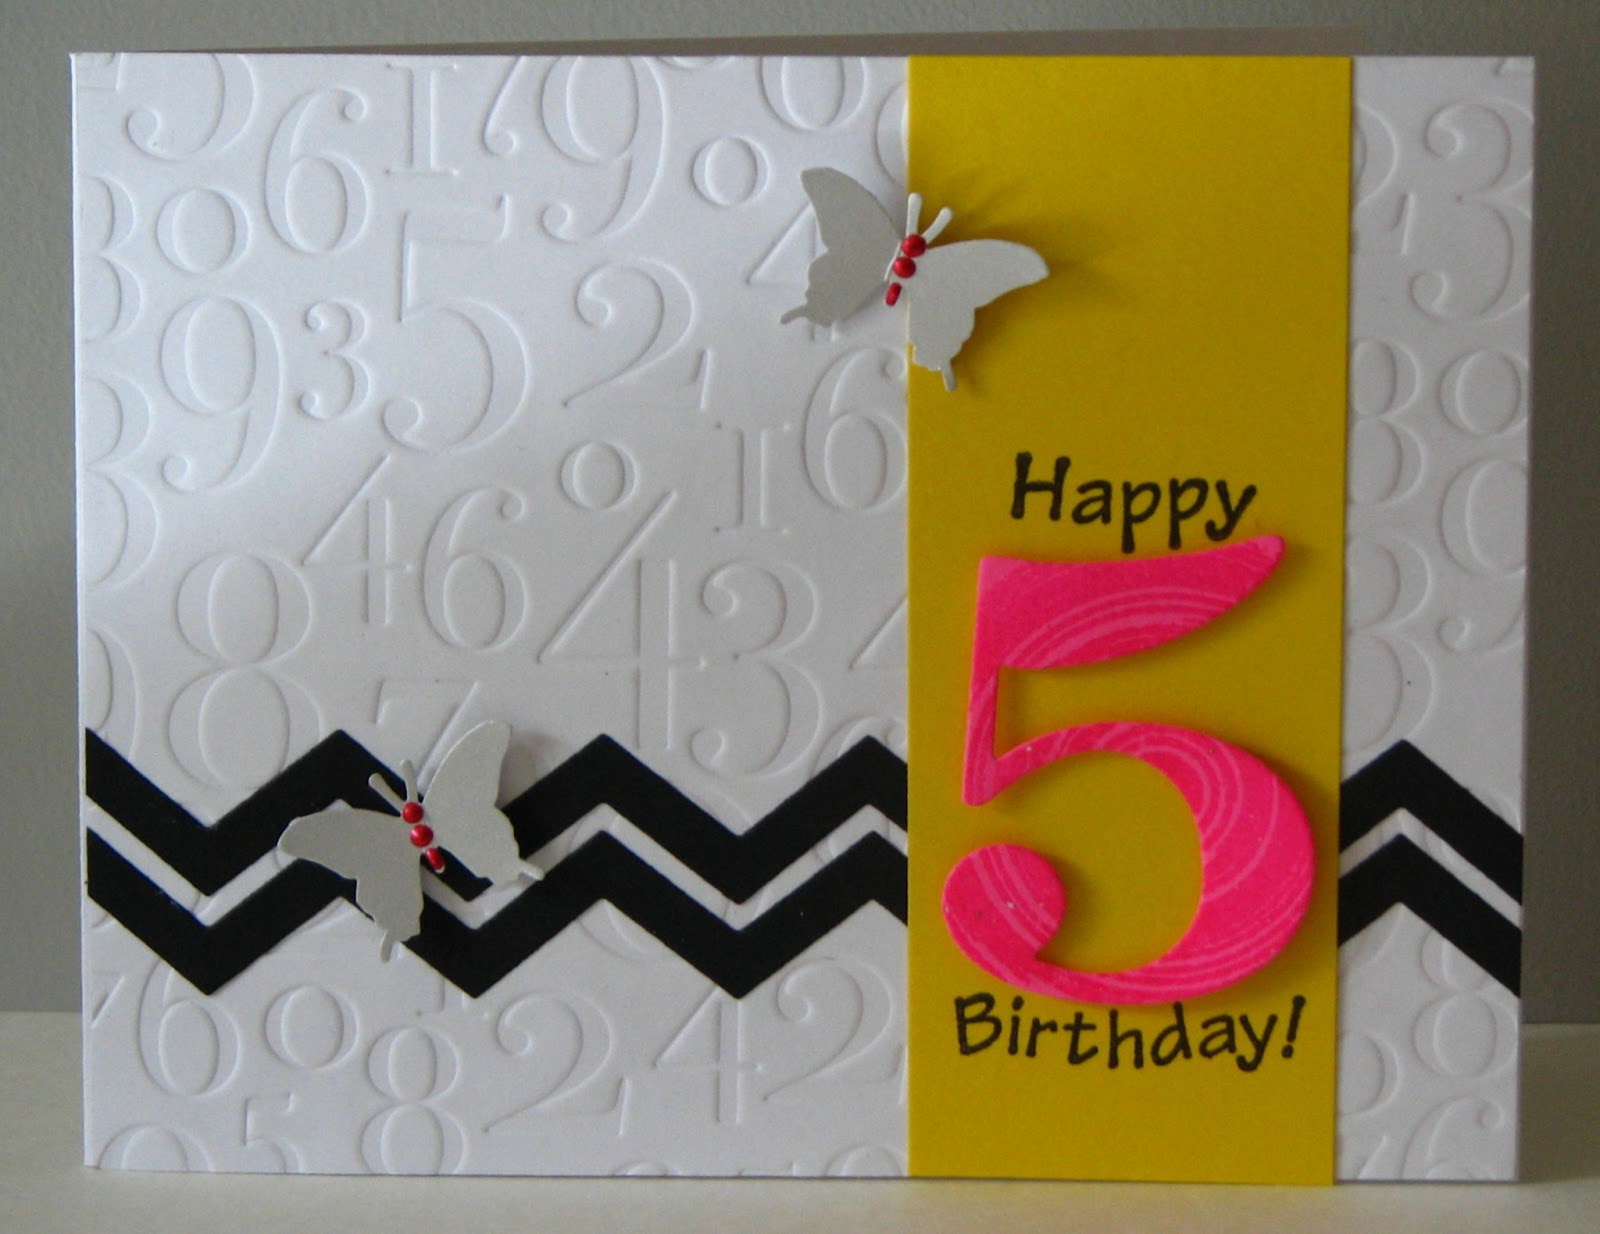
None other than Cornelia......with this beautiful birthday card


Congratulations Cornelia.   I'll be in touch to get your address so we can get out the lovely prize pack from Scottie Crafts.
And don't forget this month's challenge ~ Anything but a card.  Arlene has lots of inspiration in store for you.


and the Divas

Saturday, May 4, 2013

Just a folder? You say!

If you have to track it, put some zest into it.  If you have to organize and use paper, use it to your advantage. Since I'm your May hostess, I have had to be quite inventive this month and have had great fun coloring the Bugaboo images.    I've done some pre-cutting, pre-coloring, pre-organizing... and when I've had enough pre- this, pre- that, I sit down to color.  I was off work for a few days and went back to work where I had to do some pre-organizing and pre-considering.  It's true I'm making up words, but that's ok.

This is when I felt the ground shake (not just because I live in California).  I was sitting there at work without anything pretty or silly or remotely FUN to look at while I prepped a project.  UGH... So first thing back from the office... I started typing up what I needed to do for May, while at the same time, making my hostessing FUN!  I now have a folder to keep many of the things I pre-color or print out, waiting their turn in the sunlight.

Now when I'm feelin' down or overwhelmed, I don't have to go far to relieve that stress!  I can be grumpy and grouchy... as you can tell, some of Stella is colored.  But I can also have my happy moments and the darlin' friends are hanging out together with some color in their cheeks and on their clothes.

Be inventive, Be creative, Be YOU!  Visit Bugaboo!  Remember to hop over to claim your Friday Freebie.
(Did you really think I'd give the May schedule away?)  Have fun coloring, cutting, poking, tweezing (tweezing - handling  or extracting with tweezers),  and embossing and die-cutting, you wonderful DIVAS, you!  Make tags, journals, calendars, embellishments or alter something.  There are so many things you can do to make that useful tool, container, whatever into something artistic too.

Arlene and the DCD Design Team